The Xiegu X6100 is a great radio, but gets hot to the touch when used with digital modes. Also feeding it with 13.8V DC contributes to heat development. My X6100 got as hot as 55 degrees Celsius (130 F) when using it for a while. Maybe within specs, but for me too much.
The root cause is the internal heat development in combination with the transceiver’s heatsink. First best is to prevent heat development if possible. Try to minimise the duty cycle and don’t feed the radio with 13.8 V. The voltage regulators inside lower the voltage to 5V and generate heat. Better is to feed with 10 ,5 V. This voltage is enough to ensure the full output (10 W).
But not all heat can be avoided. This brings me to the heatsink itself. The heatsink has an ‘capital I’-profile, with the largest area of the heatsink inside the radio itself! This is also the area where the heat producing components are mounted. Like the PA transistor and it’s output transformer, but also the voltage regulators. In orde to cool sufficiently the internal heat has to be transfed to the outside of the X6100, where it can be dissipated. But: only the top and bottom of the I-profile are on the outside. And the bottom and top heatsinks have almost no fins. So the the only area where the heat is actually dissipated is relatively small. Result: the heat cannot de dissipated enough and the rig heat to an unpleasantly high level. I’ve even read on forums that the X6100 can be overheated and simply stops working.
A way to overcome the X6100 heating problem is by force cooling. Best place i.m.h.o. at the bottom. See above why. But a fan consumes power and produces noise.
Another (more elegant?) way is enlarging the effective dissipation surface where it matters most: at the bottom. You cab do this by adding a heatsink. Preferably easy removable. The heatsink has to be fixed in a reliable way, preferably without drilling holes in the rig itself. By the way: also the back of the Xiegu dissipates some heat and the surface is relative big. However, the back it is not a part of the actual heatsink and just sheetmetal that happens to touch the heatsink where it is screwed on. Only cooling the sheetmetal back will not cool the inside electronics. That is why I did not put a heatsink to the back (although that would be easier). It’s just not a sane thing to do IMHO. But you could if you want, just keep in mind that it will not be as effective.
You can see below how I attached a heatsink without drilling holes. So that I can easily remove the heatsink when not needed. I a magnetic contraption to attach the heatsink: strong magnets -which I glued on the bottom of the rig- that cling to other magnets that are fitted in three holes in the heatsink. Also I used a rubber-ish heat transfer tape on the back of the heatsink. When needed (working digital, that’s when the X6100 heats up most) I can add the auxiliary heatsink easily.
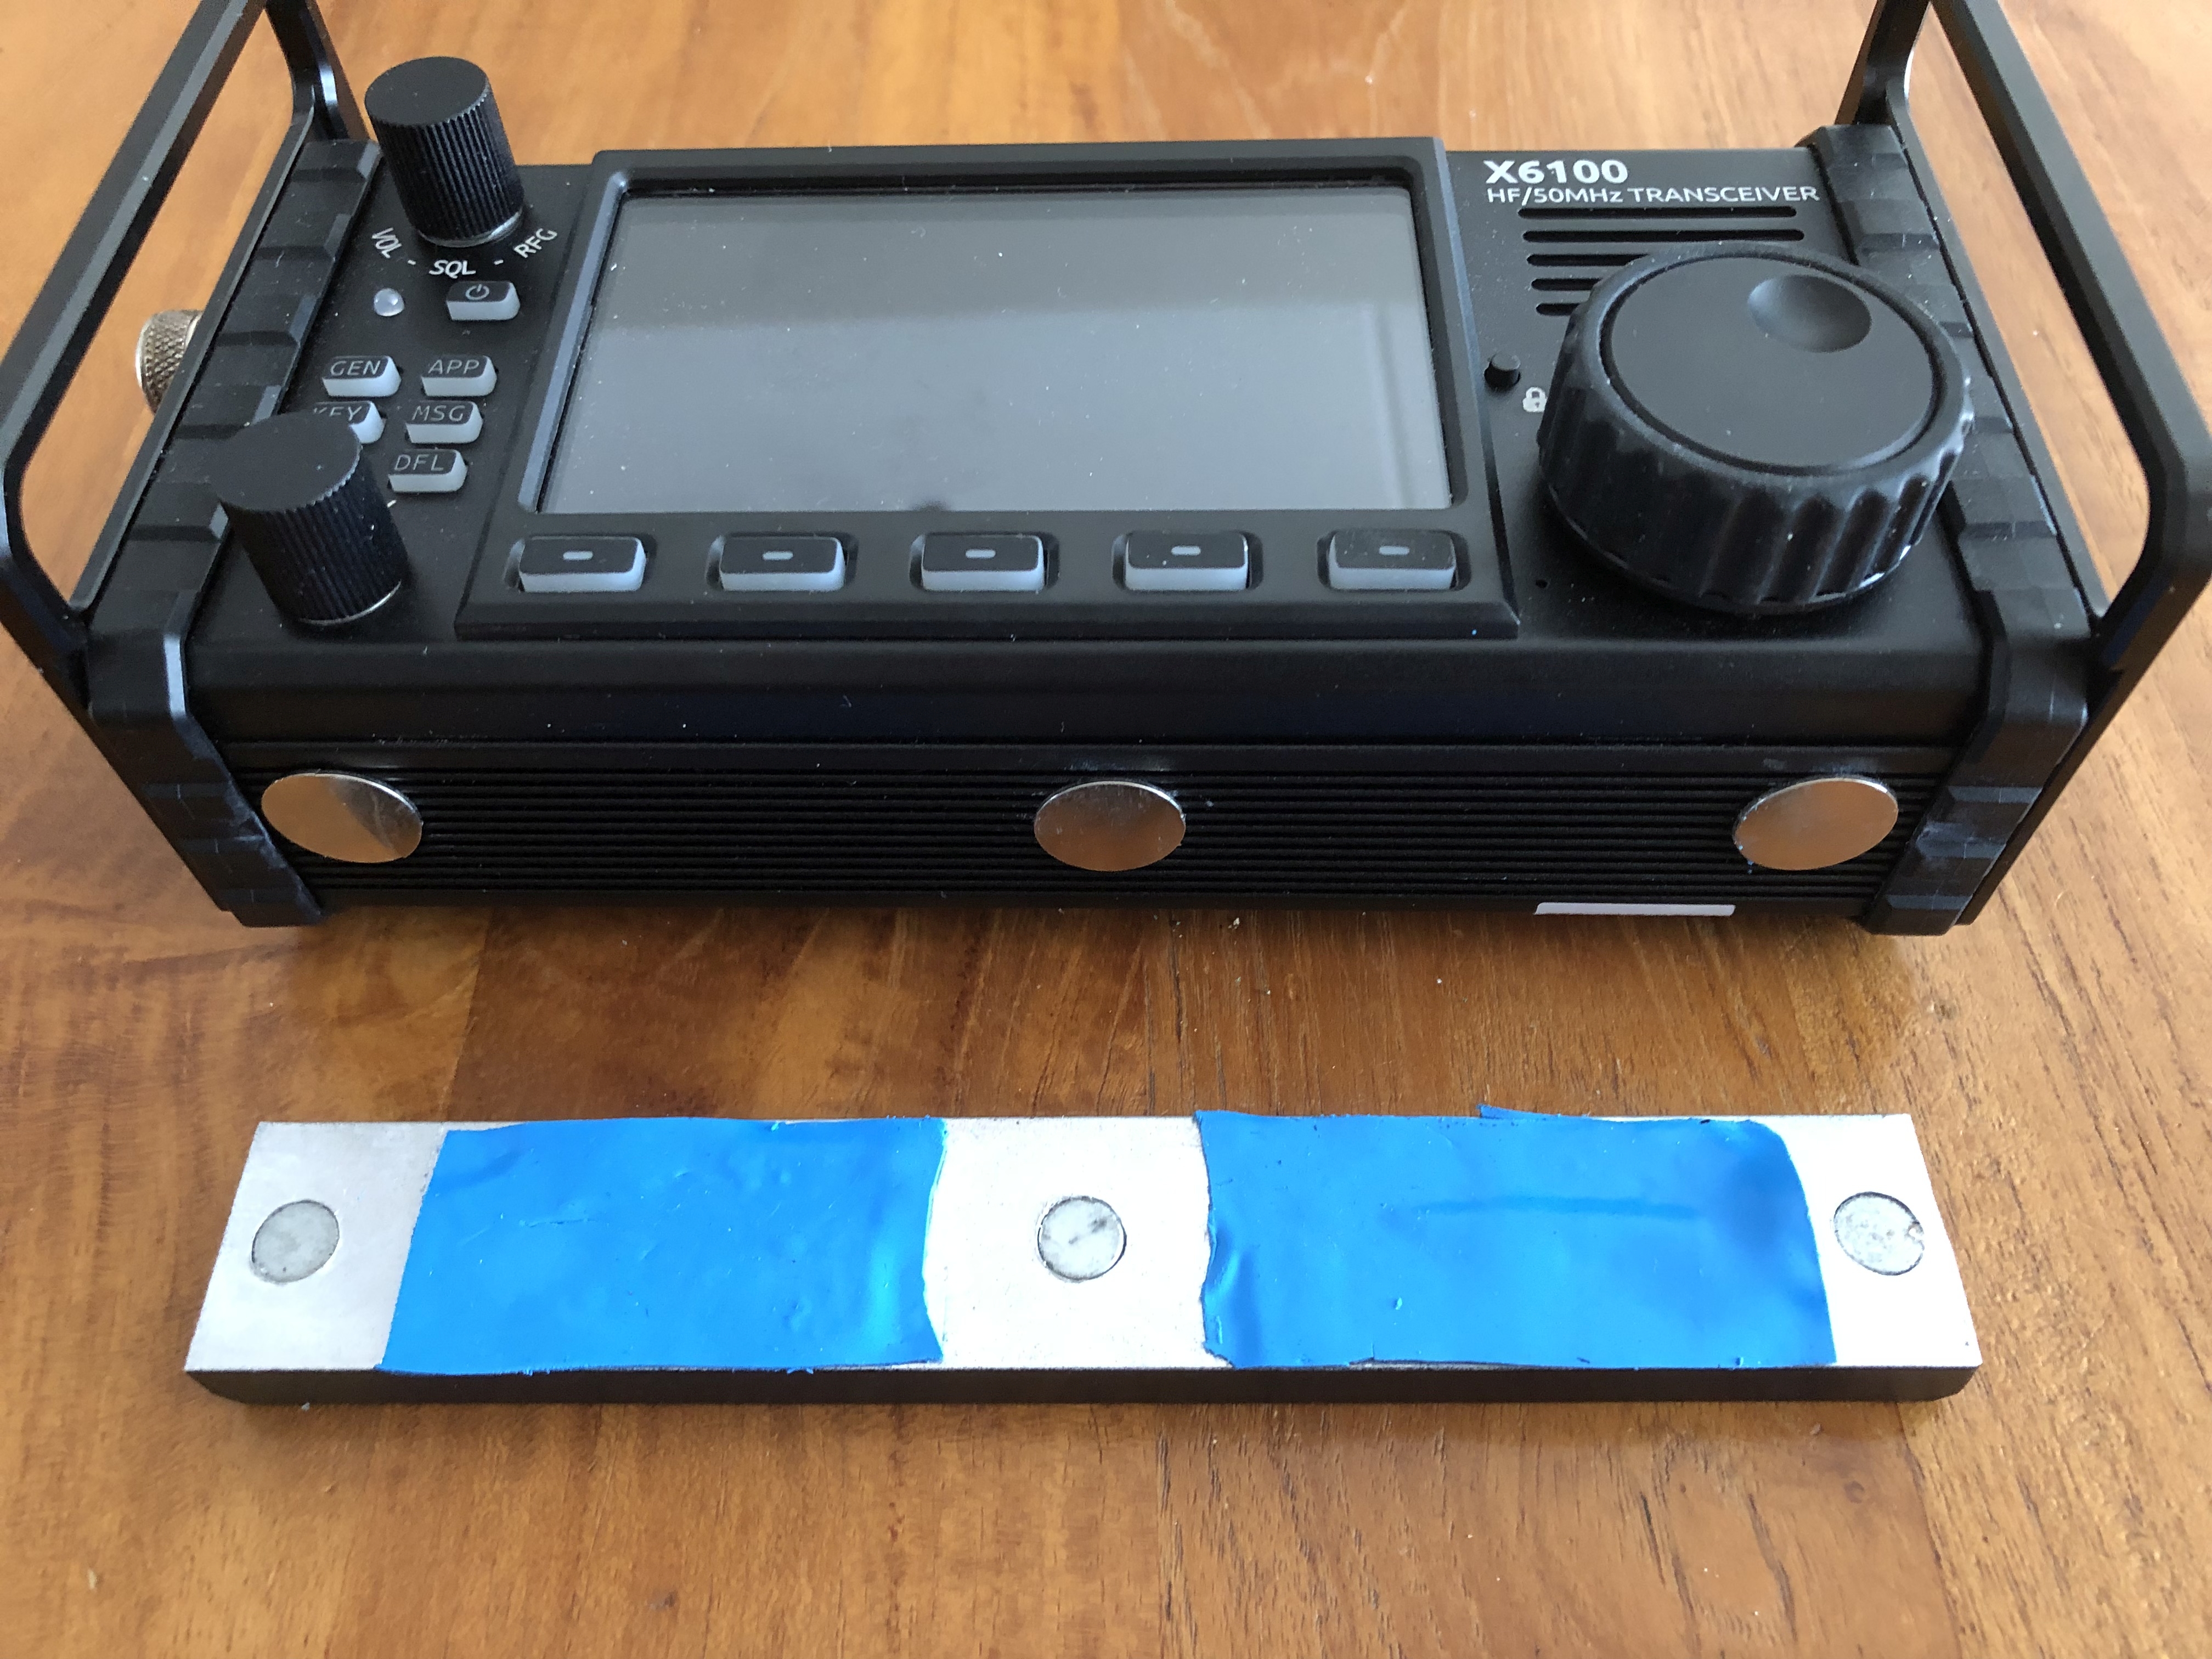
As a prototype I used a standard aluminium heatsink (160 x 25 x 10 mm) I had lying round in my shack. These heatsinks are sold for cooling LEDS. I drilled three 8 mm holes in it and glued 3 strong 8mm diameter Nd magnets flush. Between the magnets I added heat conducting pads (1 mm thickness). I spray-painted the heatsink black on the visible side so it looks nicer. To the bottom of the X6100 I glued three 1mm high (same thickness as the heat conducting pads) Nd magnets. This contraption makes the heatsink ‘click’ to the rig nicely and also secures that the heat conducting pads are pressed to the rigs bottom heatsink firmly. This to ensure a good heat transfer to the extra heatsink. As the heatsink has a much larger dissipation surface, cooling should enhanced. The rig now stays cool nicely.
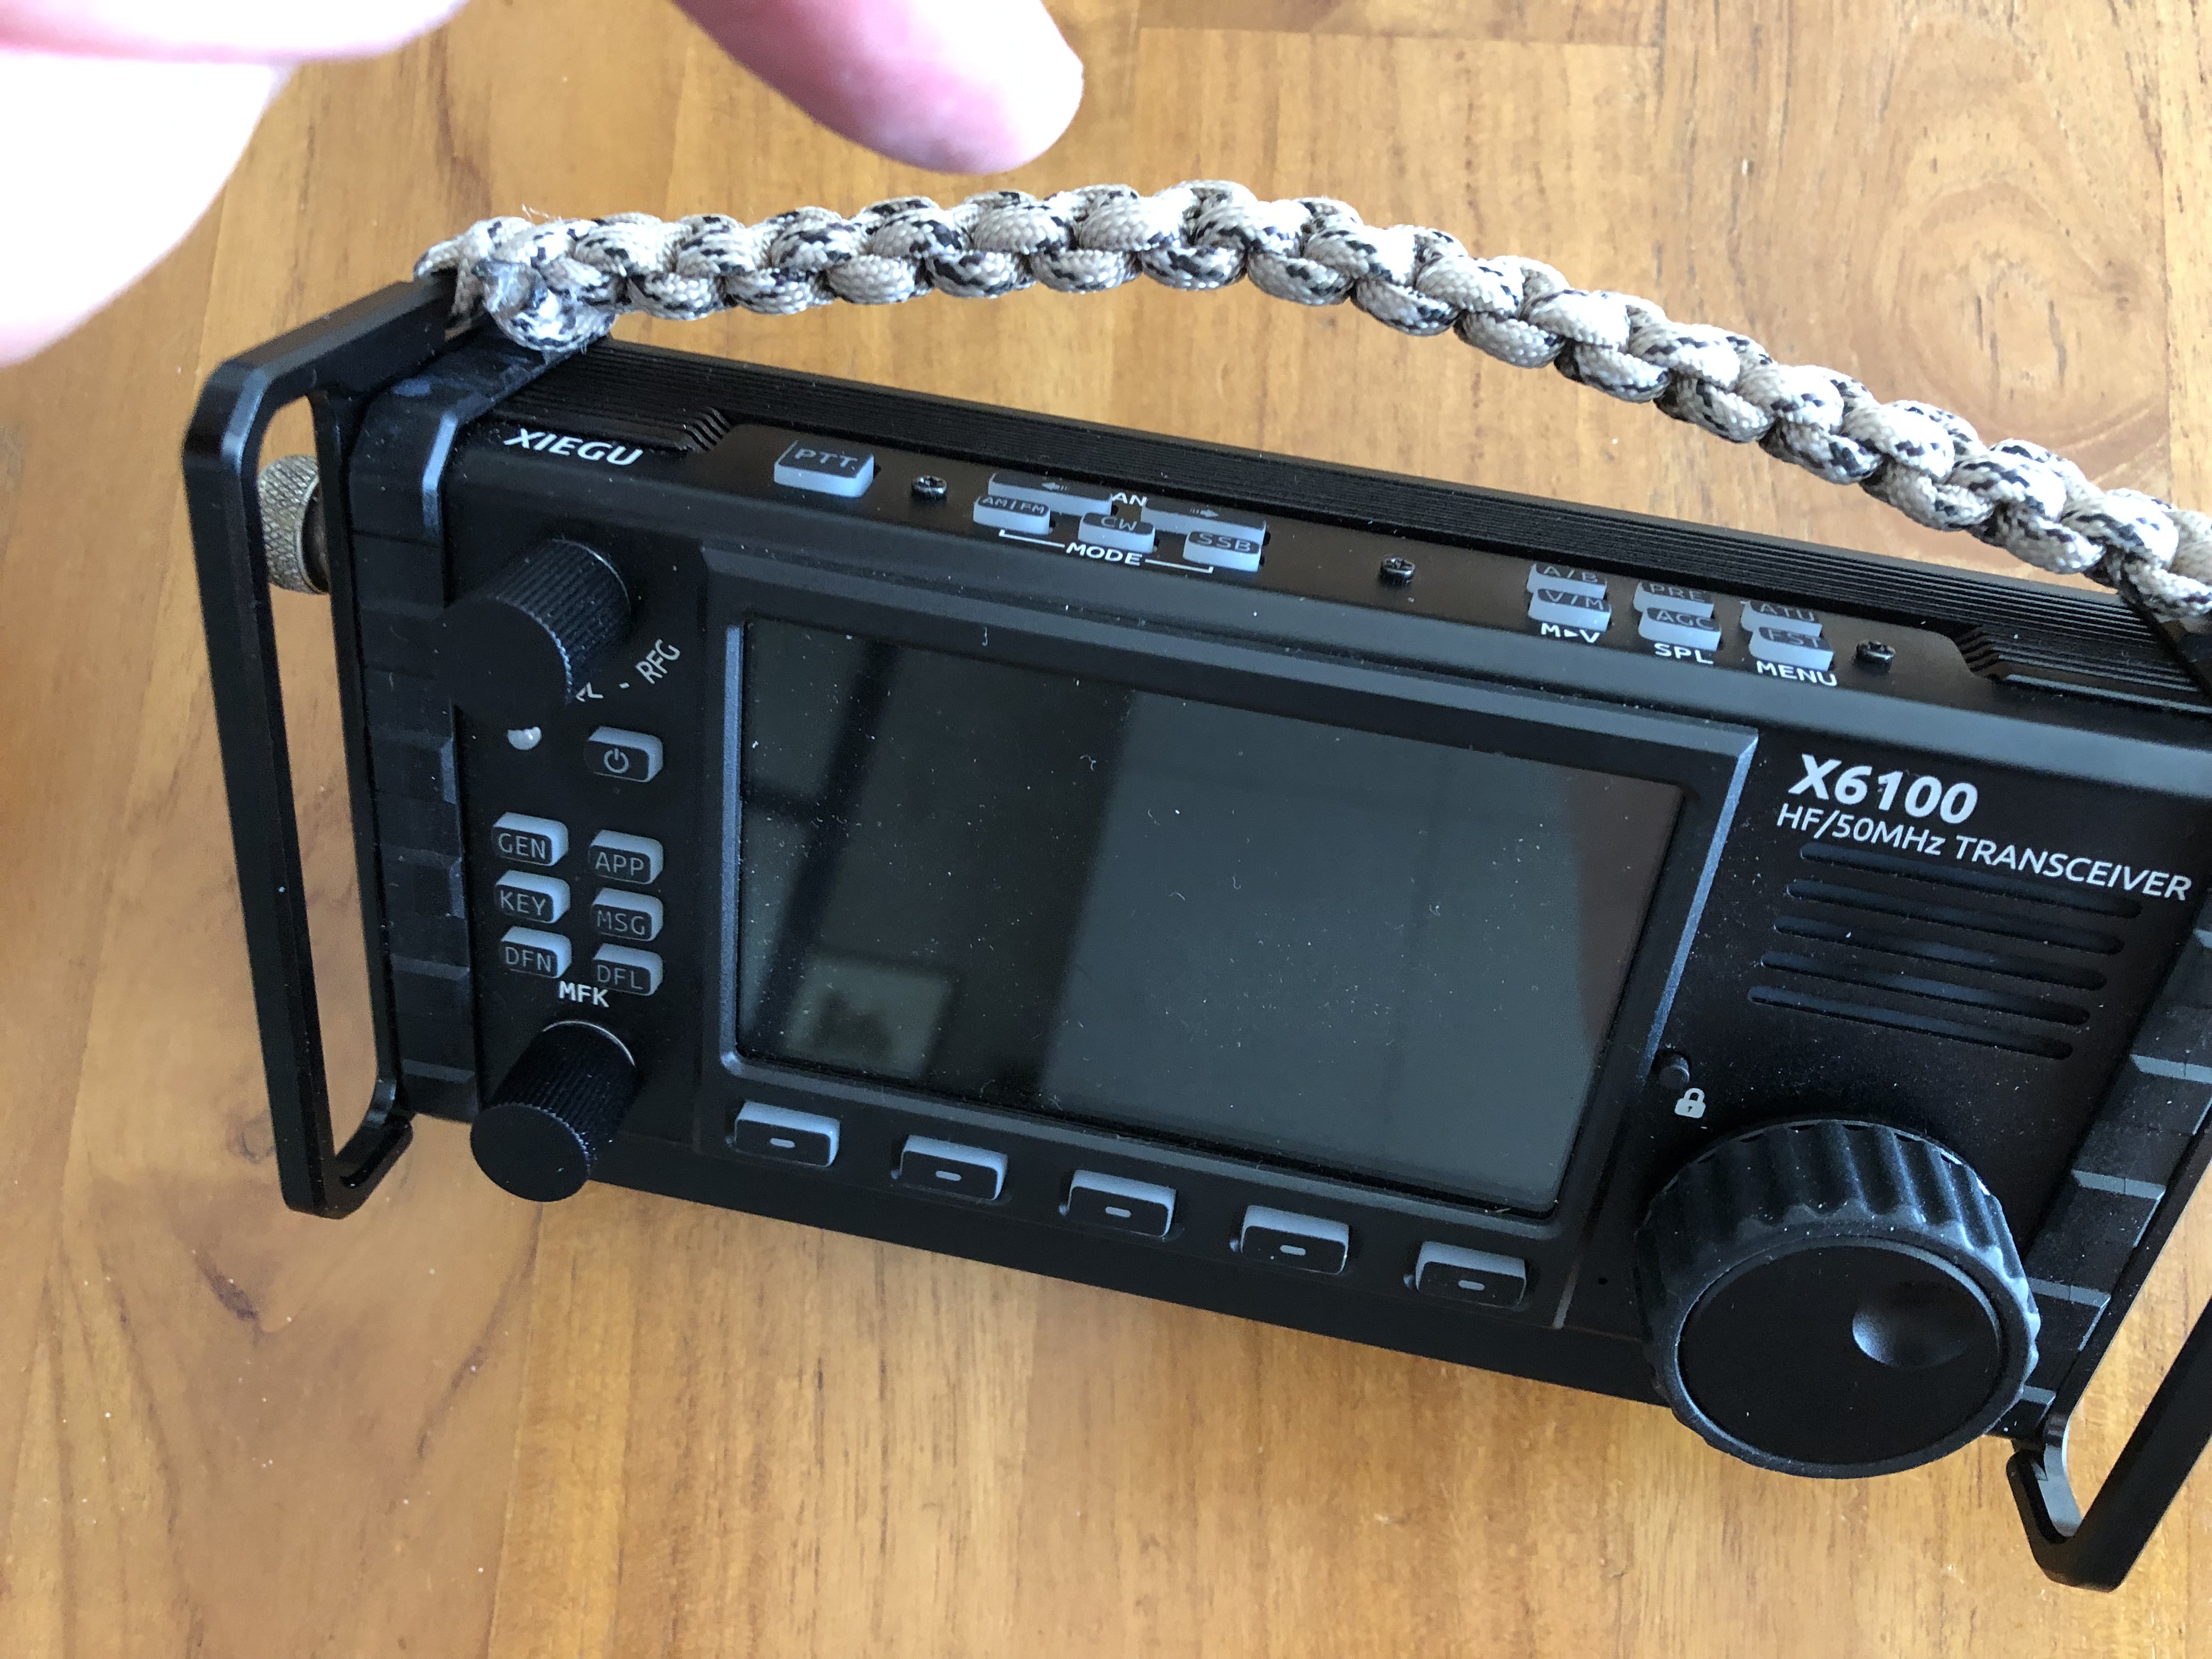
Because the heatsink itself I used is not very high (just 10 mm) the X6100 can still be used in the tilted position. See the picture below.
By the way: the heat is -off course- also transported to the top side of the rig and -for a part- to the sheet metal back. The effective area of the top is even tinier then the bottom because of the buttons. I did not put an extra heatsink on the top, but one could do so. One extra tip: if your X6100 has the paracord carrying handle please keep some space between the handle and the top heatsink. Because when the paracord handle rests on the top-heatsink, it more or less acts like a blanket, hampering the heat dissipation on the top of the rig!
And, does it work? Yes, by adding the heatsink the X6100 stays cool, even when using digital modes. Also: with the heatsink added, the X6100 can still be used in the tilted position.